To embed an image to a web page use the <img> tag.
The <img> tag supports a number of required and optional attributes, which give additional information about it.
Syntax
The <img> tag is empty, which means that the closing tag isn’t required. It contains only attributes. But in XHTML, the (<img>) tag must be closed (<img/>).
Required Image Attributes - src and alt
The src (source) attribute specifies the name or the location of the image to be displayed. The value of src attribute should contain the name of the image file or its URL.
<img src="example.jpg" />
 or
<img src="https://www.example.com/images/example.jpg" />
The alt attribute is also required for the <img> tag. It is used to provide browsers with an alternate text in case when the image cannot be displayed (in case of slow connection, when a screen reader is used, etc). Browsers often display the alternative text of the image as a pop-up when you put your mouse over it.
Syntax of the <img> tag with required src and alt attributes will look like this:
<img src="https://www.w3docs.com/learn-html/" alt="HTML tutorial" />Recommended Image Attributes - width and height
The width and height attributes are strongly recommended to use with <img> tag. If these attributes are used, the browser reserves the place for the image when loading the content, and this speeds up rendering the page.
<img src="https://www.w3docs.com/learn-html" alt="HTML tutorial" width="200" height="120" />Example of the HTML <img> tag with the src, alt, width and height attributes:
<!DOCTYPE html>
<html>
  <head>
    <title>Title of the document</title>
  </head>
  <body>
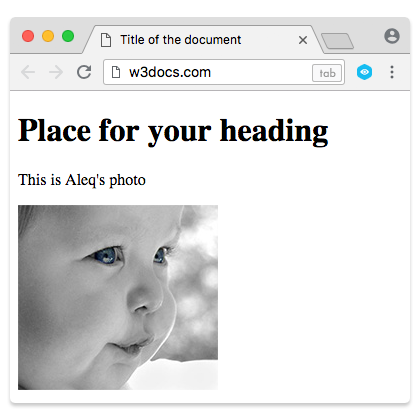
    <h1>Place for your heading </h1>
    <p>This is Aleq's photo</p>
    <img src="/uploads/media/default/0001/01/25acddb3da54207bc6beb5838f65f022feaa81d7.jpeg" alt="Aleq" width="200" height="185"/>
  </body>
</html>Result

Image Floating
Generally, the text is above an image, by default. But the position of the image and text can easily be changed with the CSS float property . This property specifies how the image should float, or how the text should be wrapped around it.
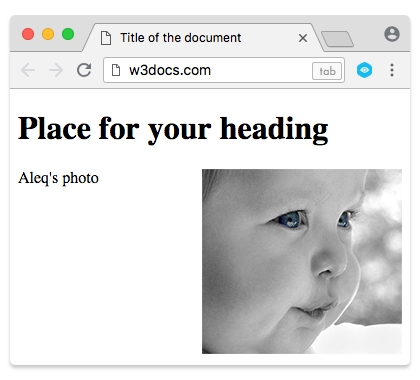
To show the picture on the left side, and text on the right side, add style="float:left" to the <img> tag.
Example of the <img> tag and the CSS float property for floating an image to the left:
<!DOCTYPE html>
<html>
  <head>
    <title>Title of the document</title>
  </head>
  <body>
    <h1>Place for your heading </h1>
    <img src="/uploads/media/default/0001/01/25acddb3da54207bc6beb5838f65f022feaa81d7.jpeg" alt="Aleq" width="200" height="185" style="float:left"/>
    <p>Aleq's photo</p>
  </body>
</html>Adding style="float:right" attribute to the <img> tag positions the text to the left, and the image to the right.
Example of the <img> tag and the CSS float property for floating an image to the right:
<!DOCTYPE html>
<html>
  <head>
    <title>Title of the document</title>
  </head>
  <body>
    <h1>Place for your heading </h1>
    <img src="/uploads/media/default/0001/01/25acddb3da54207bc6beb5838f65f022feaa81d7.jpeg" alt="Aleq" width="200" height="185" style="float:right"/>
    <p>Aleq's photo</p>
  </body>
</html>Result

How to add hyperlink to an image
As the <a> tag is used for inserting hyperlinks, you just need to put the image in the <a> tag to make your image clickable.
Example of the <a> and <img> tags for adding a hyperlink to an image:
<!DOCTYPE html>
<html>
  <head>
    <title>Title of the document</title>
  </head>
  <body>
    <a href="https://www.w3docs.com/" aria-label="w3docs homepage">
    <img src="/uploads/media/default/0001/01/0710cad7a1017902166203def268a0df2a5fd545.png" width="190" height="45" alt="logo"/>
    </a>
  </body>
</html>What image format to choose for web
There are three main types of image formats supported by browsers:
- GIF (Graphics Interchange Format)
- JPG / JPEG (Joint Photographic Experts Group)
- PNG (Portable Network Graphics)
GIF has 256 unique colors that make simple and fast-loading graphics. You can use GIF for small drawings, diagrams, charts, buttons, and other simple graphics, that won’t prevent your page from loading fast.
JPEG being a 16-bit format can blend red, blue and green light to display millions of colors. Thus it is used mainly for photographs. This format gives you the flexibility to choose how much to compress your image – from 0% (heavy compression) to 100% (no compression). You can choose this format if you don’t mind giving up some quality for a reduction in size. Avoid using JPEG for images with text, shapes, or large color blocks, because when the file is compressed, the lines will blur and colors will shift.
PNG format combines all the benefits both the JPEG and GIF formats have, it has millions of colors and allows to compress the file with no loss in quality. You can use PNG for web graphics that require transparency, color heavy, and complex graphics or photographs.
Modern image formats
Today, several modern image formats are used for the web to have smaller, richer, and faster-loading images.
WebP designed by Google provides lossless and lossy compression for images on the web. Its main goal is to become the primary format for photographs on the web replacing JPEG. (WebP - Wikipedia)
Another format designed to replace JPEG format is BPG (Better Portable Graphics), which also boasts high compression ratio (files are smaller than JPEG with the same quality).
HEIC is a new image format that Apple uses instead of JPEG in iOS 11. This format utilizes modern compression methods, which make it possible to have higher image quality in smaller files.
Practice Your Knowledge
Quiz Time: Test Your Skills!
Ready to challenge what you've learned? Dive into our interactive quizzes for a deeper understanding and a fun way to reinforce your knowledge.